Tuesday, April 24, 2012

Masculine Card Tutorial and a Tip!

Hi all, Madge here with my last post for the month of April for OCS.  Today I’m going to share a (very simple) tutorial on how to make cuts in Patterned Paper to make it work with your image while also adding an element. This will also take you  Step-by-step on how I made this card.  Prepare to sit a while!
First:   Here is a little tip that I discovered while doing my nails (don’t ask!). 1 This little bottle of “Base Coat” Nail Polish is absolutely fantastic for making your black lines “POP” from your colored images!!!   - comes with it’s own little brush!!  - from the $$$ store.  AND it also adds a slight gloss and stiffens your cut image!!   WOW – all that from an 2asloppy mistake errrrr,  experiment.  Ask me how I know that, in fact the blacks became more vibrant?. . . . well, while the puddle, ummmmm,  application was drying, I screeched “OMG “ ummmm, hypothesized the abnormal change in depth of color and made a mental note to myself . . . . clumsy jerk2 . . .  phew, well that turned out ok.
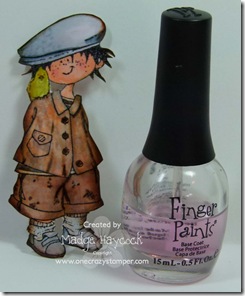
OK, on with my tutorial……..  I started with this little image of Snoesjes - Snoes with Bird, from Marianne Designs – available at OCS.  This little fella really grew on me……….  I stamped the image onto XPress It Blend Cardstock, with Memento Tuxedo Black , colored it with Copic Markers and fussy cut him out.  (Sometimes a light bulb goes on, sometimes a candle flickers)  Here’s what I did to bring my card to fruition. 
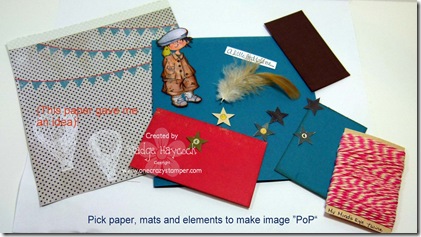
Next I chose some masculine papers and elements – for April’s OCS’s Masculine Challenge.  The DP paper is from an Authentique Paper Collection3
5

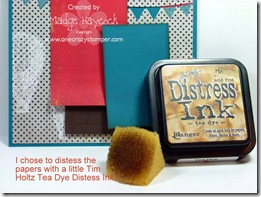
I sponged Tim Holtz Distress Ink, “Tea Dye” to all the papers to give a Vintage look.6

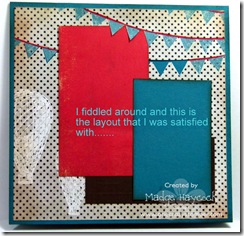
Then I began to place color blocks until I was satisfied with the result.
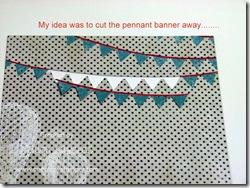
The red color block was positioned under the cut-out. I also penciled in “H-A-P-P-Y  B-I-R-T-H-D-A-Y” onto the banner.7 8
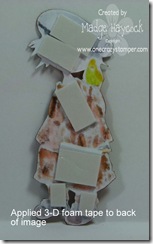
   3 Dimensional foam squares were placed on back side of image.
I added the elements, (stars, feather and twine) to the card and placed the image over the twine – placing the sentiment in between the twine to give a matted look.  

11 
Above, is the finished result ~  Colorful, masculine and regular postage rate thickness for mailing.  I also added papers to the inside of the card – for more “eye candy”.
Til Next Time.    “Stamp up a storm, ink up a wish – and send it on to brighten someone’s day”.
~ rubber hugz ~siggyhaycock

Wednesday, April 18, 2012

Tilda and her Bunny

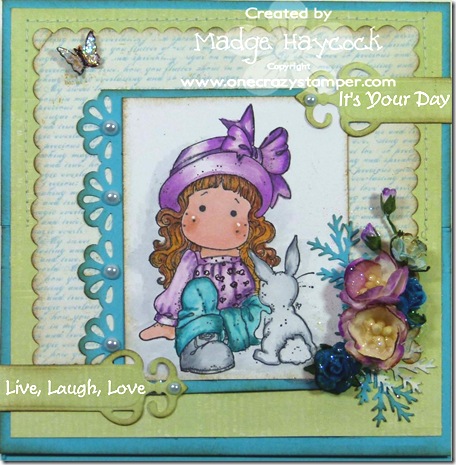
Another Wonderful Wednesday and the weatherman says it will be sunshine!!  The card that I made was actually a Birthday Card for a friend who loves Purple and loves Butterflies…………  Many moons ago I thought it might be an Easter card, but it didn’t happen.  But Tilda can have bunnies any day of the year – right?? 
This stamp is called Tilda with Bunny and is available at OCS.  I am s-o-o-o passionate about these little Magnolia stampsP1010286
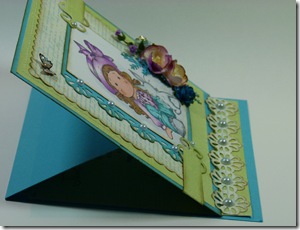
 This is an Easel Card, which I love to do.  I even managed to do some actual STITCHING on it!!  (My sewing machine was in shock when I turned it’s light on). lol    The papers I chose are from Prima Marketing, “Sweet Fairy” collection.  I love their subtle look.   As I’ve mentioned before, I really admire people that can put patterned papers together  - when I do it looks like a dog’s breakfast.   BUT, I did it with this card!!P1010287 copy 


Materials used: 
Tim Holtz Distress ink  (Antique Linen)
Memento Black Tuxedo ink
Xpress-It-Blending Cardstock
Copic Markers  (from the BG and V family)
White Glaze Pen
Spellbinders Scallop Squares and Tags One
Prima Marketing, “Sweet Fairy” 6” x 6” pad
Flowers and Pearls
Diamond Glaze (Glossy Accents) (with a sprinkle of Cool Highlight Glitter
Misc:  MS Fern and border punch, butterfly charm, rubons, SU cardstock

“Remember, Stamp up a storm, Ink up a Wish – and pass it on to someone to make their day”.  ‘Til next time
~ rubber hugz ~siggyhaycock

Monday, April 16, 2012

Tilda Loves Flowers

April is Birthday Month for friends and family.  I’ve been chomping at the bit to be able to put this card on my blog – but I had to wait until the recipient had it in her hot little hands.!!!  
P1010289 copy
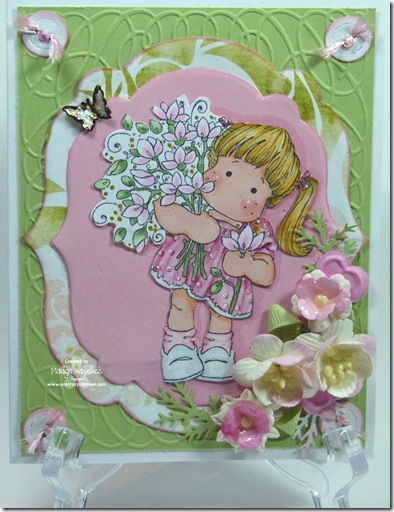
I absolutely adore this little “Tilda loves Flowers” image (Diana at Magnolia-licious, has such a great selection).  I found a smallish piece of a Basic Grey dp from the Porcelain Collection that I had been hoarding……….  and had to use it.  Pink and Green!!  Can you get anymore Spring-like??
I fussy-cut Tilda until I reached her bouquet – then – well, I mussy-cut.  LOL  
It has been so-oooooo long since I’ve posted a Magnolia image -  Hope you like it.  I’m really pleased with this folds on her dress!!  What do you think?
Yup, I’m  shamelessly fishing for compliments…………. LOL

I am entering this card into the following challenges:

Paper Sundaes  (anything goes)
Magnolia Stamp Lovers  (butterflies)
Wags n Whiskers Challenge (anything goes)

“Remember, Stamp up a Storm, Ink up a Wish – and send it on to someone to brighten their day”.
~ rubber hugz ~
Madge  

Wednesday, April 11, 2012

Bird on a Branch – Marianne Creatable


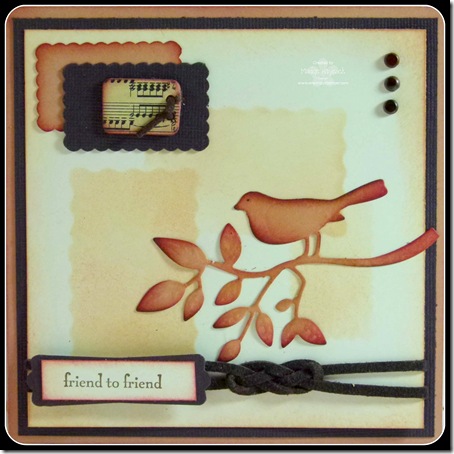
I’ve chosen to showcase the wonderful array of Tim Holtz Distress inks that One Crazy Stamper has in the store and a beautiful die from the  Marianne Creatable’s collection.  I used the Spellbinder scalloped rectangles, using the negative to blend the distress ink onto my 5” x 5” vanilla cardstock.  Masking and overlapping the stencil created the foreground / background effect.

The Bird on a Branch was cut and embossed and then I useP1010269 copyd a sponge dauber to apply ink to give the die cut dimension.  I also sponged the My Mind's Eye button and die cut to give a little dimension.  Brads, a suede cord and a sentiment were added from stash. The knot on the suede cord is called a Double Carrick knot.

April is “Masculine” month for the challenge at OCS – Can’t wait to see your creations, for a chance to win free stuff.

“Remember to stamp up a storm and ink up a wish” and send it on to make someone’s day”.

~ rubber hugz ~
siggyhaycock